Chapter 34
Growing Tomato Plants from Cuttings
Plants can be grown in several different ways. Most people are familiar with growing plants from seeds. Fewer are aware that new plants can also be created by cutting off and growing a portion of an existing plant. This "cutting", after removal, can be placed in an environment that allows it to grow into a new plant. The new plant will be exactly the same as the plant from which the cutting was taken.
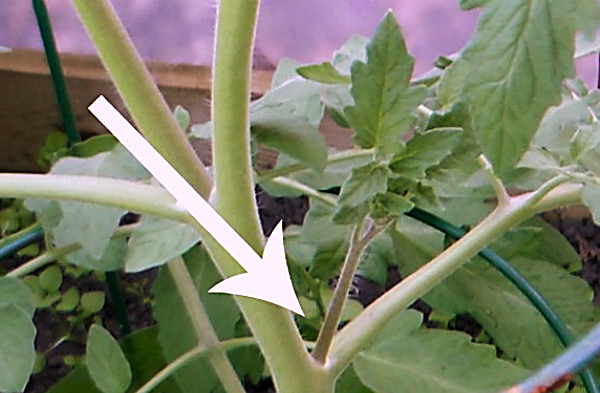
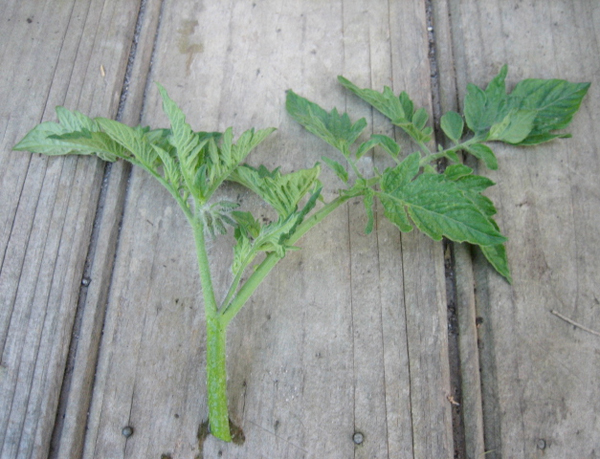
Cuttings can be taken from any part of a plant but for tomatoes a "cutting" usually consists of a portion of stem with a few leaves attached. The "cutting" could either be the growing tip of the plant or one of the so-called "suckers" originating from a main or secondary stem. Most often the "suckers" are utilized. This "cutting" is essentially a whole new plant without roots. Once a few roots have formed it becomes a new plant.
Why would anyone want to use a cutting to grow a new plant rather than a seed? One reason would be a shortage of a particular seed, a seed maybe from a huge tomato that was in short supply. Another would be a low germination rate from a batch of seeds and not enough time to start all over. Sometimes plants are grown from cuttings to exactly duplicate a plant already being grown, a plant that might have been a super achiever or to keep an outdoor plant alive inside through the winter.
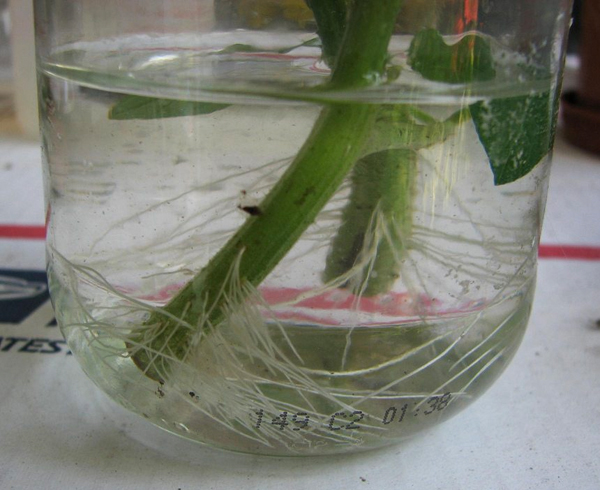
It is easy to grow new tomato plants from cuttings. Tomato cuttings are so productive they can actually be rooted in water alone. But, the plants are stronger if rooted in soil. Roots formed in water do not adapt quickly to taking nutrients from soil, causing a bit of a delay in growth while they adapt, and so, the recommendation is to start your cuttings in potting soil. Here is a method that is successful and, at the same time, simple.

Get some 4 or 5 inch pots with drainage holes in the bottom. Fill them with soil-less potting mix. Thoroughly moisten the mix and let it sit awhile to allow any excess water to drain out. The mix should be moist but not waterlogged. Use a pencil to the make a hole in the mix nearly to the bottom of the pot. Remove a 5 to 6 inch sucker from your tomato plant. (It would help if your plants had been watered several hours before the cuttings were removed. You do not want them dry.) Remove all but the two top leaves from the cutting and then insert the cutting into the soil to within an inch of the bottom of the pot in the hole you created with the pencil. The more stem you can bury, the more roots are likely to form. Press the soil around the cutting to firm it in. Make sure the spots where you cut off the lower leaves are buried. Place a clear plastic bag over the pot and seal it at so that it is pretty much air tight so that the humidity inside the bag remains high. Insert a few pieces of a straw around the edge of the pot to hold the bag away from the cutting. Place the pot in a warm place in subdued light, not in direct sun. The cutting needs light to grow. Within 10 to 14 days the cutting will have formed a nice root system. Remove the bag and let the plant grow with increasing exposure to the sun until you are ready to harden the plant and put it outside in the garden or in a large pot. Using this process you will most likely never even see any wilting of the leaves. The plants made from cuttings will appear only a few weeks behind the plants from which the cuttings were harvested and they will soon catch up in the warmth and sun.
One of the advantages of propagating tomato plants by cuttings is that the transplanting time is cut down to 14 days. Tomato plants from cuttings can be in the garden in 2 weeks from the time the cutting was made while it takes tomato plants started from seed 6 to 8 weeks before they reach transplanting size.
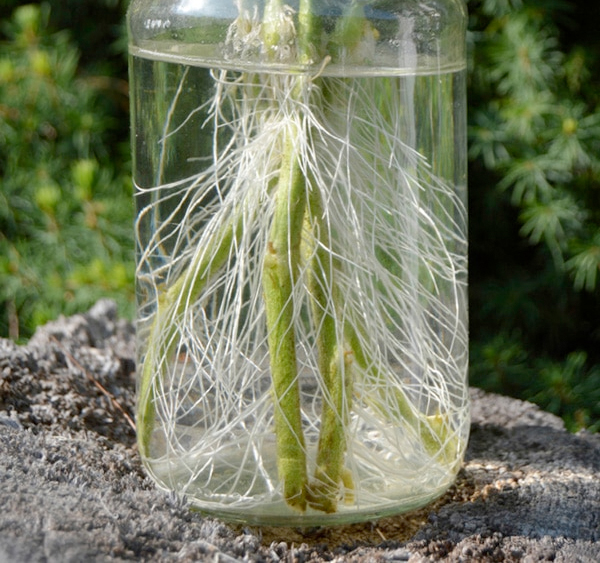
If you look very closely at the main stem of your tomato plant or the secondary vines (suckers) you will see fine hair like protrusions. These are called root primordia or adventitious roots. When these come in contact with soil or are put in a pot of planting mix or in a container of water, they will form roots.
Grower Comments
"If you are unsure about when to start for a certain weigh off date, and have only a couple of good seeds, you can try this method I used this past year.
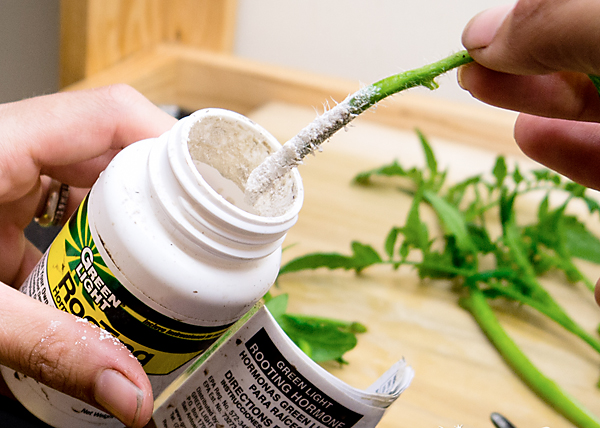
"I planted two 5.58 Timm seeds in March. This was way too early for a September weighoff. So what I did is, I took the suckers off the plant and rooted them. (The sucker is the new branch that comes out of each and every leaf axil.) Tomatoes root very, very easily just dip a cut sucker in a little rooting powder stick in moist potting soil and keep out of the sun. I set mine under a potting bench. You should get fairly high rooting percentages without any fancy set-up. Because of this method, I was able to propagate a dozen plants and stagger the planting over the course of the season. I would agree with a late June through early July transplant date to have them ready for a late September weigh off. In a very cool year it might take longer but you will have your bases covered" Marv M.